BYE BYE CHRISTMAS TREE...
This is officially one of the saddest days of the year for me…..the day the Christmas tree comes down. If you are prone to eye rolling, this post may not be for you- but if you are like me and love a good life hack here are some tips to managing the aftermath of the tree with courage and efficiency. After all, sharing is caring.
My reason for sharing this sad detail of duty is that I have always struggled with a good solution for storing breakable ornaments and pieces in a consolidated fashion. The years of reusing tissue paper and old newspaper are finally behind me because this year dish sleeves have come to the rescue. So, before you begin this task login into your handy Amazon account and order ‘em up. The two sizes that work best for me are the cup sized sleeves and dish sized sleeves.
Go from messy tissue paper to well organized!
Step One:
There are 8 items I have identified as “categories” that go onto my tree. When putting up the tree I put these items on in reverse therefore they come off in this order.
Clip Ons
I have a series of glass candles that I love to hang on the tips of my tree as the last thing that goes on and the first thing that comes off as a group.
Candy Canes - Remove and eat or save for crushing and making amazing drink rims or cookies
Breakables - Make sure to carefully package your fragile ornaments separately so that you know to take extra care.
Non-Breakables
Decorative Glass Balls- I have a series of large and small glass balls- when I decorate the tree I push many of them into the center of the tree to reflect the light so it is important to take them off in this order for me.
Garlands
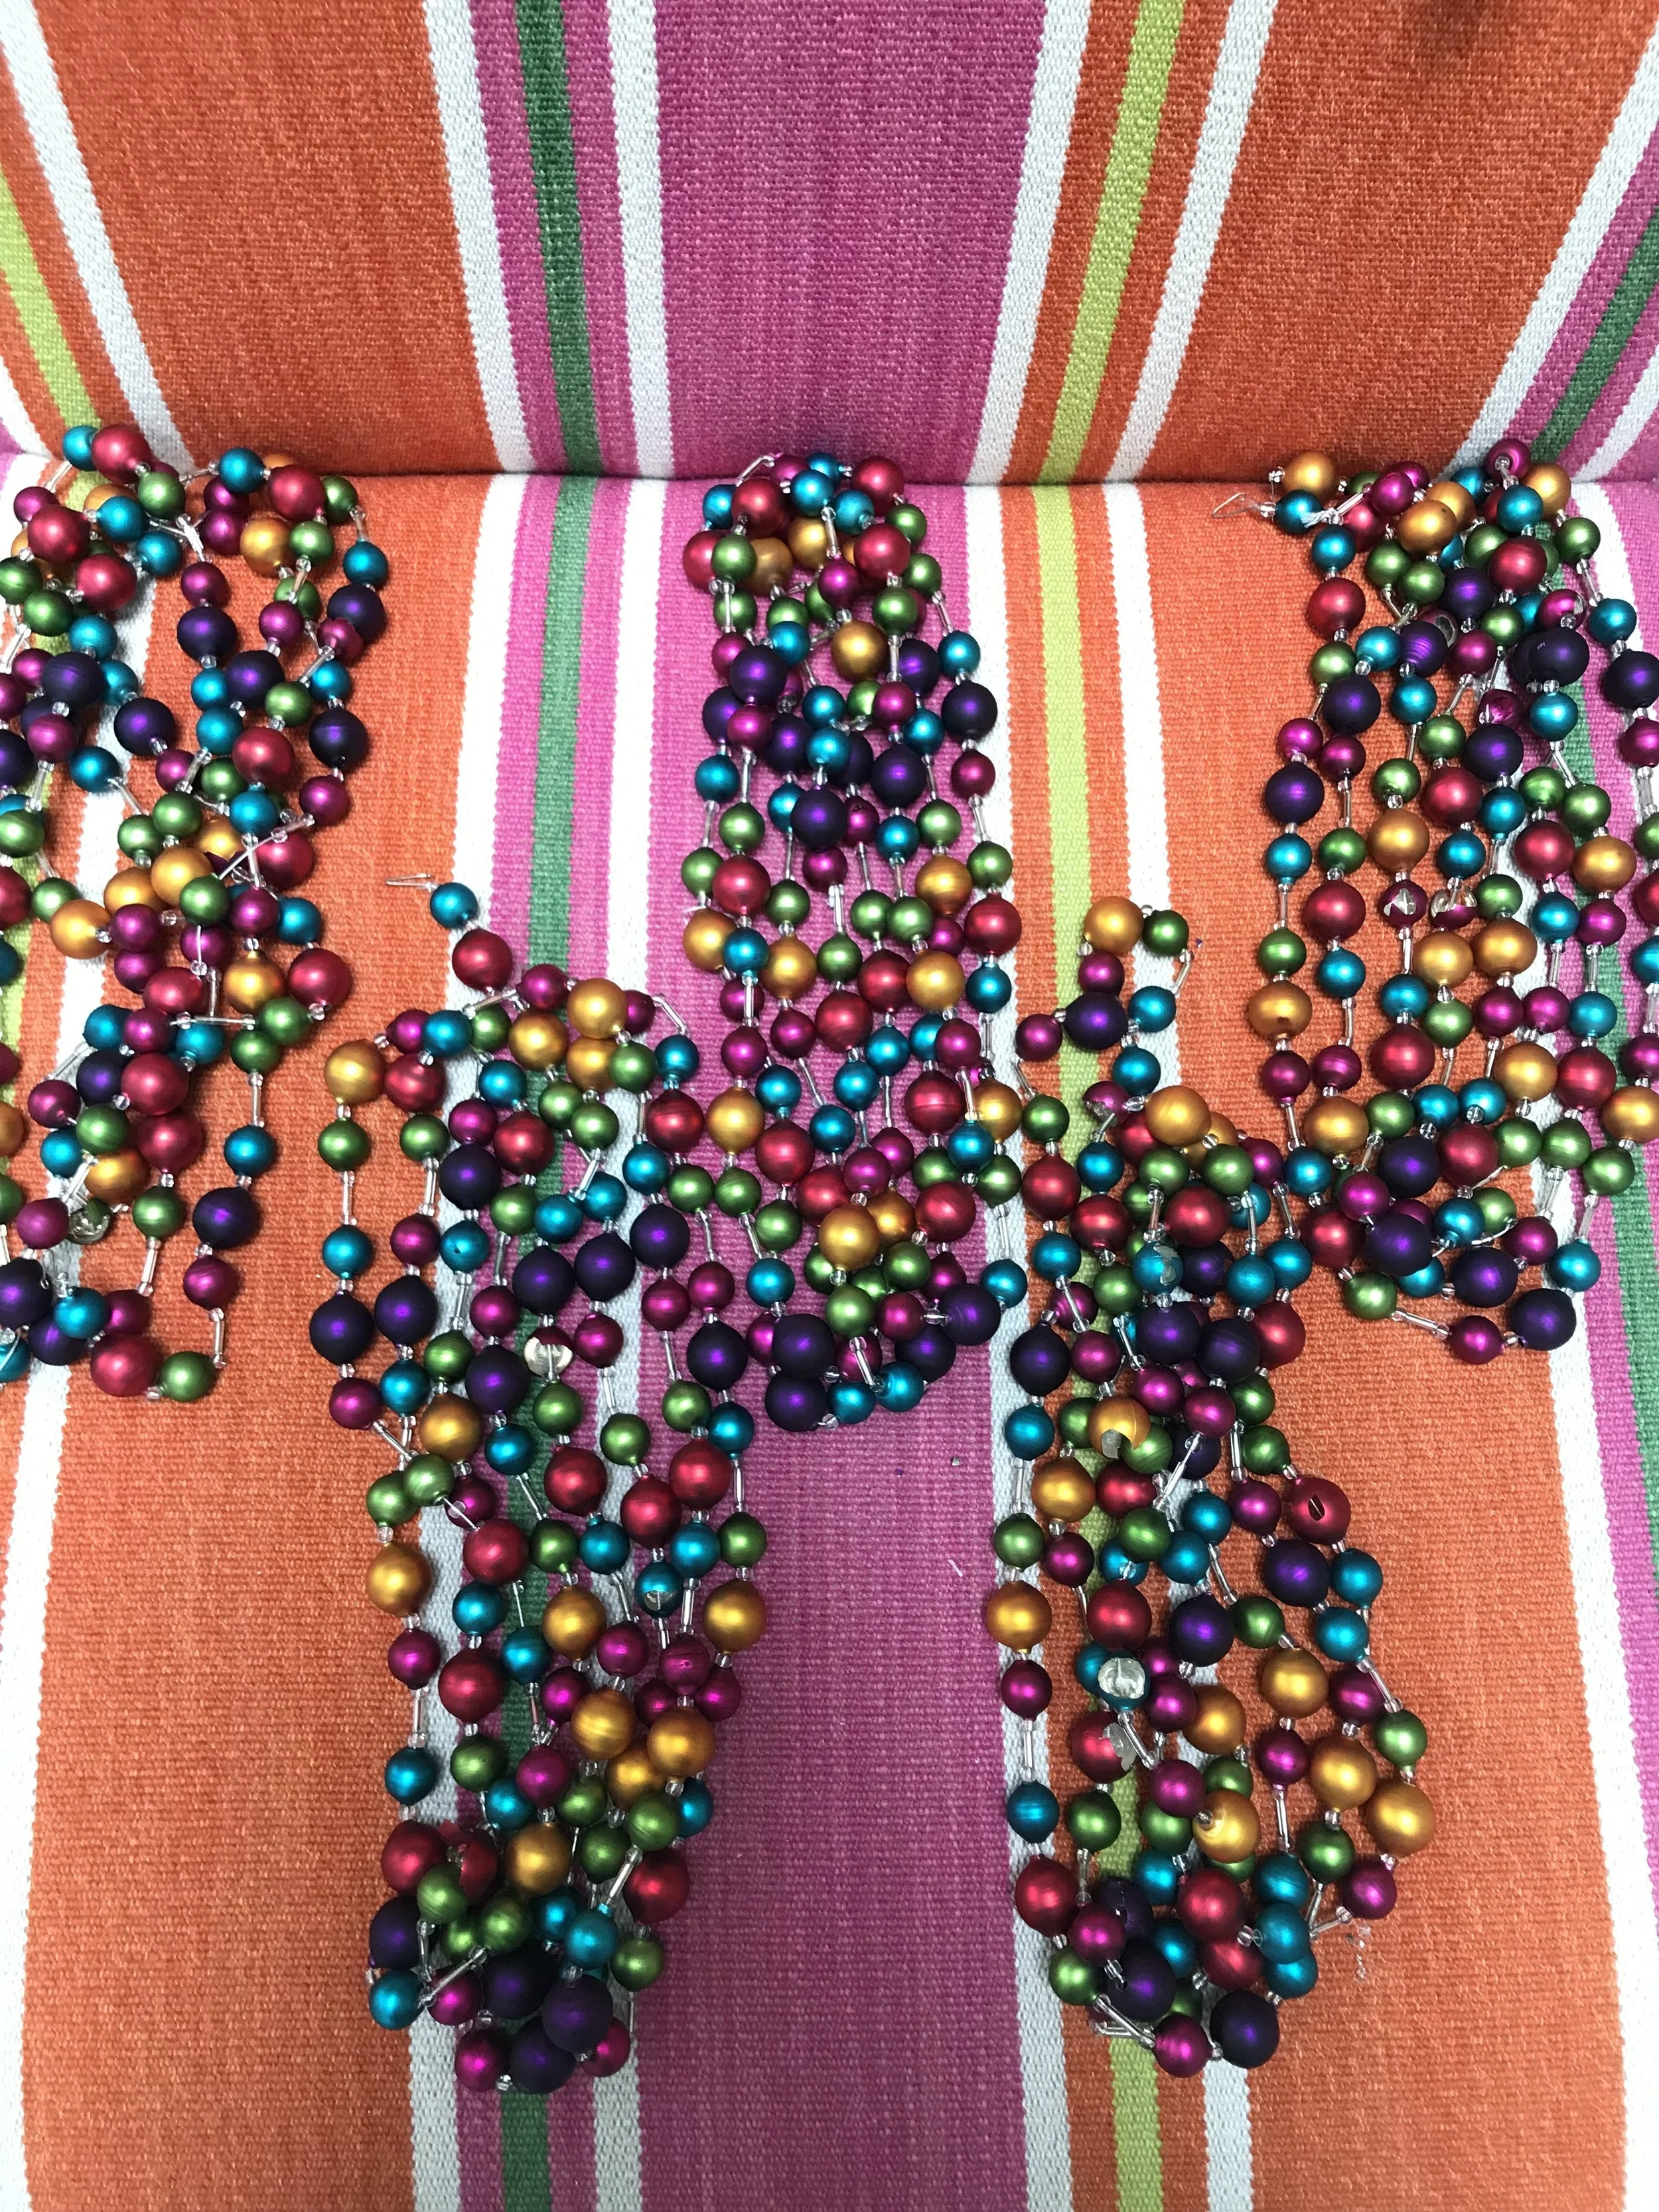
I have 3 different types of garlands (ok, eye roll permitted) and I separate them so they are easy to place on the tree next year.
The Star
Lights - If you do not have a pre-lit tree like mine, take pieces of 12 inch x 12 inch cardboard and wrap the lights around the cardboard- this is a fool proof method to prevent tangling and efficiently store them on top of one another.
Step Two:
Now that all the items have been removed and placed into respective piles, it is time to place them in the bags and right into the bins. I have to tell you I could pinch myself knowing that I no longer have to guess what is in the bag or box and worry about something falling out that has been haphazardly packed. AND the best part is not having to wrap and roll each individual piece.
Step Three:
Prep for storage.
Label Your Bins- If you are like me you have several dozen bins of decor and my husband frowns at the process of opening and closing each one to decide what is where. If the items are fragile be sure to mark as such and save yourself the pain later.
Place Stockings, Tree Skirts and Soft Items in a Separate Bin and be sure to place cedar bags or lavender sachets on top to avoid any moths or other critters. My favorite is the dryer sachets from Trader Joes that I keep on hand for a variety of tasks.
For Storing an Artificial Tree, Buy the Storage Bag….this is a game changer from my prior unwieldy box that had a mountain of melting tape holding it together. There are so many affordable options on amazon but I love this one with wheels.
IF you have perishable items such as gingerbread or candy houses and you just cannot part with them this year, place the items in a plastic tub with plenty of silica to keep the items dry and a tight lid. You cannot store these items in your attic but rather a conditioned area in your basement or a closet that has space. This candy house was created for a client 5 years ago and this method has been fool proof, as she brings it out each year.


